
This post is over three years old, the information may be outdated.
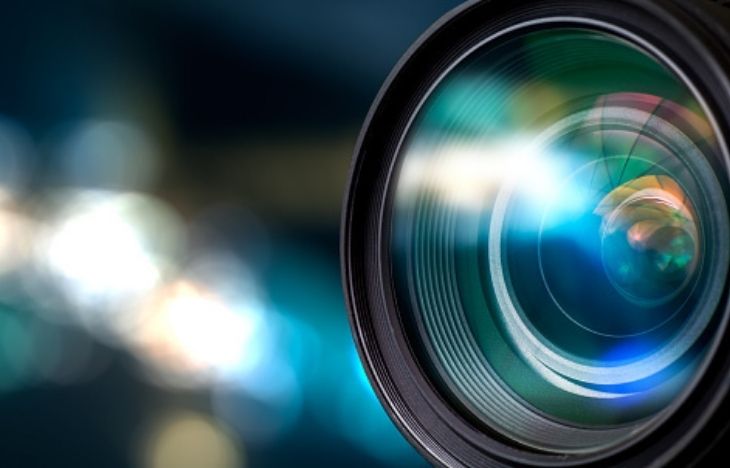
People take photos all the time, with a phone or with a camera. But it normally takes a new level of interest to want to call photography a hobby or potentially a career. While it may be an expensive hobby to take up and the information you acquire can be overwhelming, it is super easy to pick up for anyone wanting to get into photography or up their photography game.
I have been doing photography for roughly five years, doing product, food, portrait, studio, sport, pet, nature, and travel photography. While that may seem like a lot, it was never like that from the beginning. While I always took photos as a kid, my photography journey really kicked off while travelling around South America where I bought my first DSLR camera and from there my passion for photography started and I really wanted to make this a hobby or a career.
While photography isn’t my job, I do work as a freelance photographer which means I am self-employed and am hired to work for different businesses or people. I work as the photographer for Canberra’s pop culture convention GAMMA.CON, have worked for various cafes and retailers to produce content for their social media and have worked in a photography studio.
It is very easy, and you can start off with any tip. The more you practice and experiment the more you will grow and discover what your photography style is and the path you want to go down.
Find your style

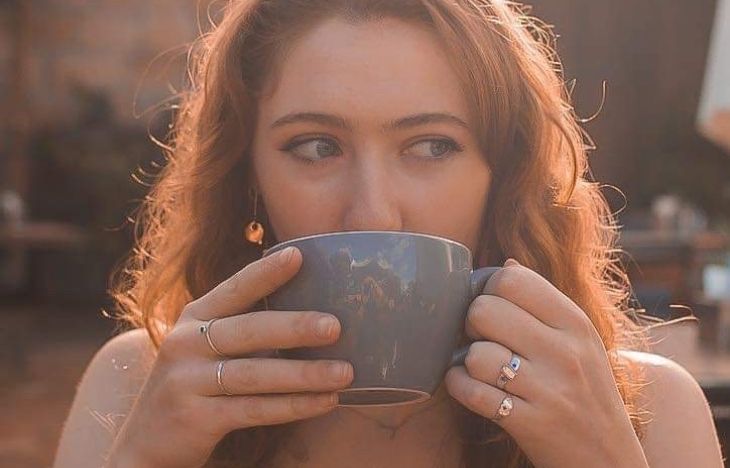
What do you find yourself taking photos of the most? Is it portraits? Landscapes? The food you eat? Or do you simply just capture any moment and object that you find visually pleasing? Knowing your style can really help find what camera suits your needs, the perfect settings, editing skills and help you really follow what you love to capture.
Cameras
This is something I will always say to everyone who is looking to buy a camera and start their photography journey. Buy a second-hand body and invest your money in good quality lenses. Why? Because the lens is what captures your image, the body just handles the settings. If you have a bad lens, you will not have a good image. You do not need to break your bank buying the newest camera, because that won’t help you. My Nikon D5600 is five years old and still works amazingly, I just invest in good quality lenses. While it may be tempting to buy brand new, cameras last for ever and second-hands will treat you really well, especially if you are new and unsure about taking up photography.
A quick guide to understand your settings
ISO:
- Grain
- 100: sunny
- 400: shade on a sunny day
- 1000: inside on an overcast day
- 1200: indoors artificial light
- 3200: dark room
- 6400: night-time or poor light

Aperture:
- 1.2 – 4.0: blurry background portraits
- 4.0 – 6: slightly blurred background
- 6.0 – 32: deep depth of field/landscapes
Shutter speed:
- Ask yourself, do you want to freeze motion or slow motion
- 1/4000: freeze a bird in flight (fast movement in bright sunny light)
- 1/2000: water splashing, bird in flight. Bright sunny light
- 1/1000: sports photography. Bright light or shade on a sunny day, sports, fast moving car
- 1/500: kids jumping, lots of ambient light, running
- 1/250: General everyday photos in good but indirect sunlight
- 1/125: everyday shooting. Perfect for still portraits or still photos in indirect ambient light
- 1/60: slowest handheld speed, low indoor lighting, or low ambient light
- 1/30: blurred motion. Movement will show, good for low ambient light
- 1 /4: Low to no ambient light available, perfect for still photography with tripod. Will show movement
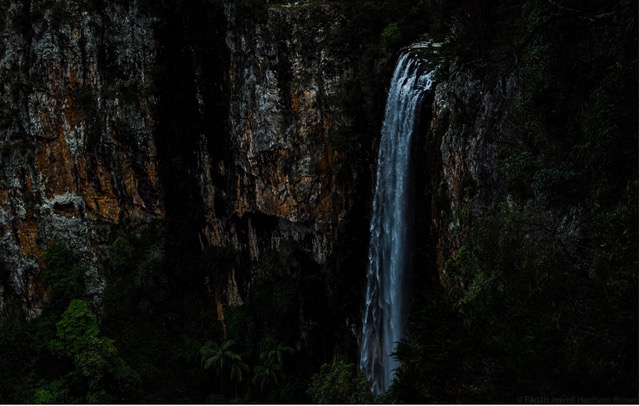
- 1 sec or slower: long exposure photography. Will show lots of movement, light trails, water flowing, ghosting. Tripod recommended.
- Fast shutter speed for bright sunny days or to freeze fast movement like sports
- Slow shutter speed for low ambient light and to show movement.
A quick guide to understand your modes
Auto mode
- The camera will automatically try and choose the best possible settings
- Auto mode, no need to mess with it and any other the settings
- Point and shoot
Portrait mode
- Keeps subject sharp
- Creates blurred background
Landscape mode
- Captures sweeping vistas or huge crowds
- Camera increases the aperture f-stop number to maxims depth of field
- Objects both near and far will be in sharp focus
Child mode
- Clothing and backgrounds are colourful while keeping skin tones soft and natural looking
- Shutter speed is also increased to capture kids who are wiggly
Sports mode
- Uses a faster shutter speed to capture fast-moving objects
- Allows you to freeze action scenes
Close up mode
- Uses a smaller aperture to improve depth of field
- Great for macro shots, close-ups of flowers, insects, and other objects
Night portrait mode
- Uses slower shutter speed and flash to capture more light
- Useful in low light situations
- Use a tripod to avoid camera shakes
Manual mode
- Designed for “experts” who want complete control over their camera settings
- Choose the shutter speed, aperture, and ISO
Aperture priority
- Semi-automatic mode
- Allows you to choose the aperture yourself
- Camera will automatically set the shutter speed that will produce the proper exposure
- Semi-automatic modes are a great place to start when you are first venturing out from fully automatic
Shutter mode
- Allows you to choose the shutter speed yourself
- Camera will automatically select the aperture (f-stop) that will produce a proper exposure
Program AE mode
- Camera sets the shutter speed and aperture bur you control flash, white balance, ISO etc.
No flash
- Same as full auto mode, but with flash disabled
Exposure
- Press shutter
- Is photo overexposed or underexposed? Adjust
Photo is too dark?
- Increase ISO
- Decrease shutter speed
- Smaller F/stop #
Photo is too bright?
- Decrease your iso
- Increase shutter speed
- Smaller F/stop #
Photo is too blurry?
- Increase F/Stop
- Increase Shutter Speed
- Try using a tripod
Apart from finding your inspirations and learning the settings of your cameras, taking photos should be fun and should involve a lot of trial and error. You must take your time, get into weird positions, and read the light. Your photos won’t always be perfect, but that is meant to happen, as you learn from those photos. And while it may be a lot to take in and understand, once you understand the basics of how your camera works, taking photos and adjusting your settings will come naturally, and workshops are great places to learn from other photographers. It just takes practice! Next will be editing, but that is a topic for another time.
Written by Pagan Harrison-Brown