
Written by Remi Bampton
Intention boards are the perfect way to visualise what you want to accomplish in the year ahead
I make these boards each year to set my intentions of my academic, wellness and health goals. For example, here is my 2025 board, where I wanted to make the most of my placement experiences, prioritise cooking at home, get back into the gym and play more tennis!
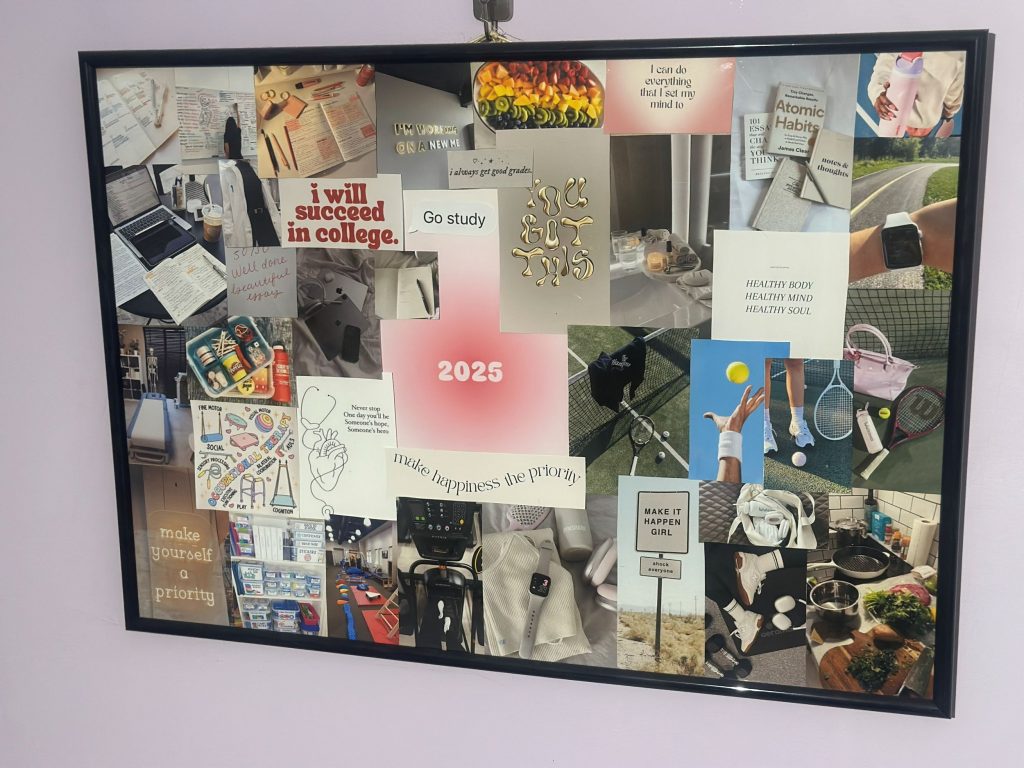
From this board I can clearly see that I met my goals, coming one year closer to my dream life.
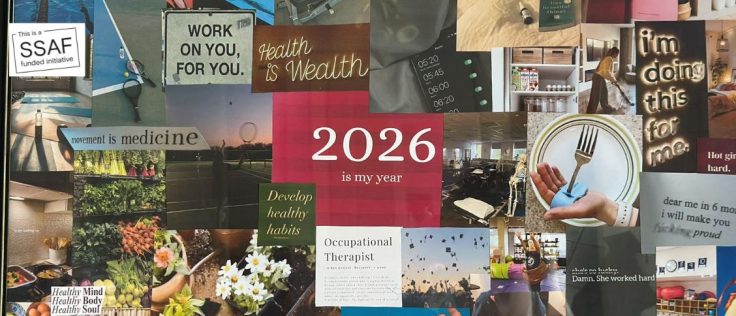
So come with me to make my 2026 board and find out how to make one for yourself!
Step 1
Brainstorm your 2026 goals and what you want to accomplish in the year
For me I want to
- Excel and grow my confidence in my 16 weeks of 4th year occupational therapy placements.
- Graduate university.
- Prioritise whole foods and cooking at home.
- Organise and keep my home tidy.
- Increase exercise.
- Swim laps! Even in winter.
- Fix my sleep schedule.
- Set healthy habits.
Step 2
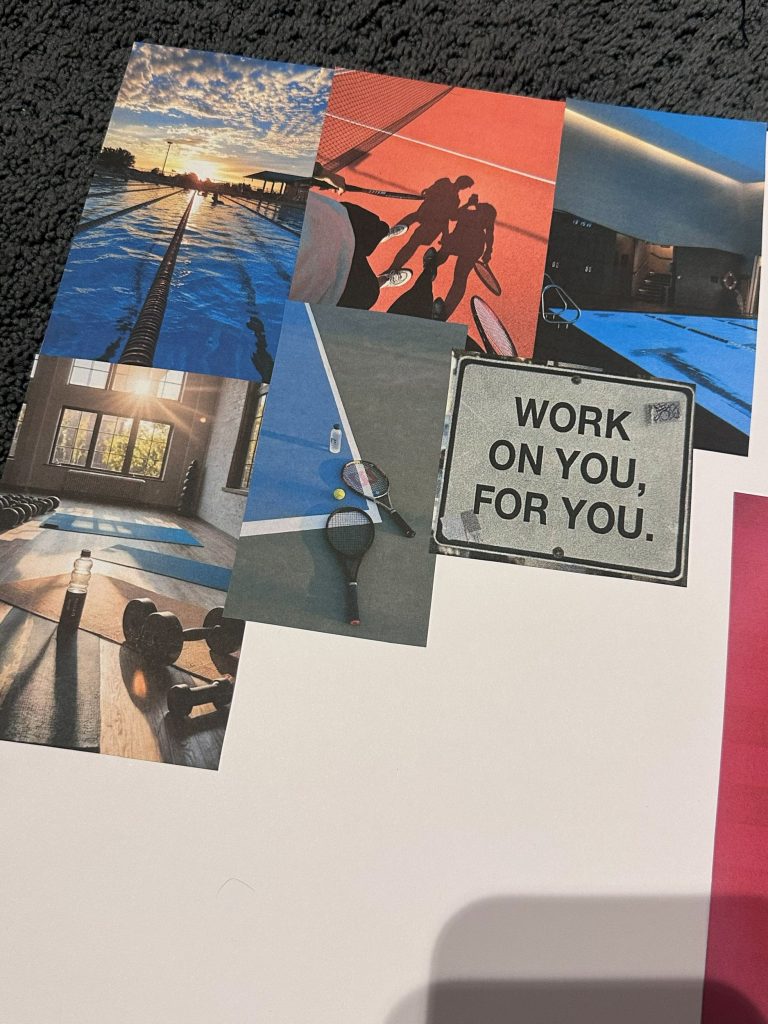
Using your goals as inspiration, scour Pinterest for images that speak to you and relate to your goals. Make sure they are going to motivate you.
Here you can also find some inspirational quotes to intersperse among the photos for further motivation.
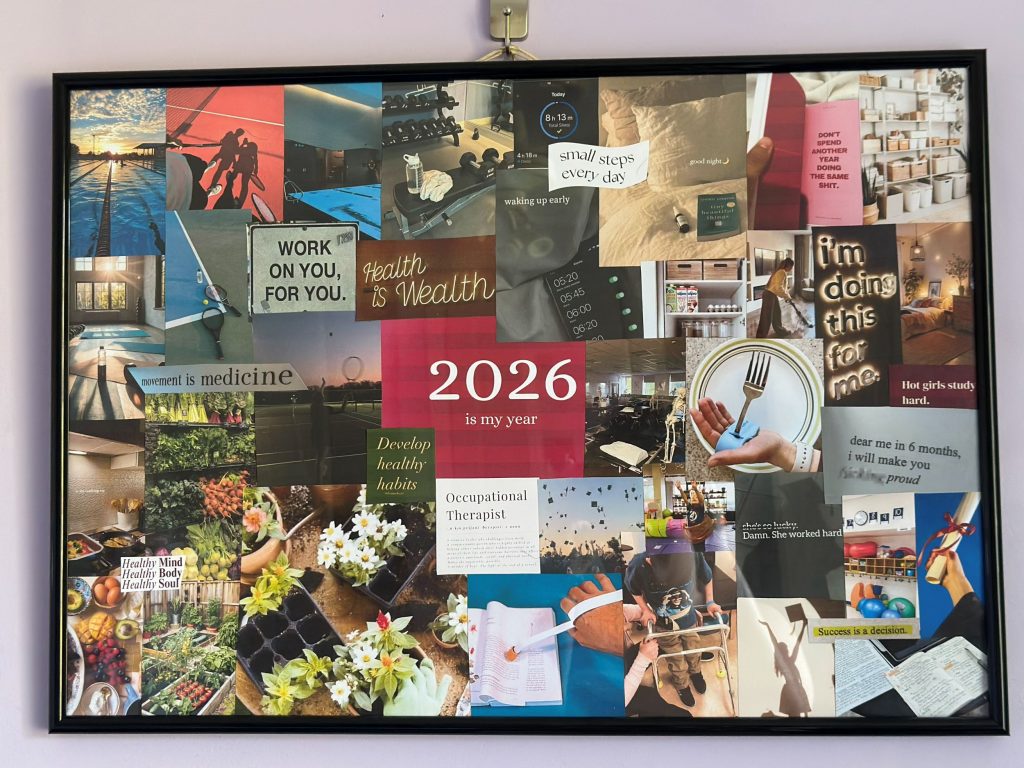
I also like to find a main photo to place in the middle of the collage and set my theme. I keep it simple and opt to use the year.
Step 3
Make the board!!
You will need:
- Poster frame! However big or little you want! I bought the A2 poster frame from BIG W.
- Poster board. Hack: Use the card that comes in the frame!
- Photo paper.
- Access to a printer.
- Scissors.
- Glue.
Step 4
- Collate images onto a document. Play around with the sizes to ensure you have a collage effect when putting the board together!
- Print and cut out the photos.
- Begin arranging images on poster board. TIP: I like to glue down the middle/main image first.
- Begin arranging the images and gluing down when you are happy with how it looks
- Once all images are glued down, put the poster board into the frame.
- Then you’re ready to hang or place the board wherever you want.
This activity is a lovely way to reflect on the past year and distinguish what you want to work on or change in the upcoming year. Plus, its quite fun to put together!
Charlie blog is a SSAF funded initiative.